Rain-Detecting Vents: Automatic Control Compared
By Hana Al-Khalil • 30th Jan
When your greenhouse stays dry through sudden summer storms while your tomatoes keep thriving (that's the promise of smart rain sensor greenhouse technology). But with so many systems touting automatic vent control, how do you choose what actually works for your climate and crops? I've seen too many gardeners install expensive gadgets that either react too slowly (leaving crops soaked) or overcorrect (trapping humidity that invites mold). The right balance keeps your space comfortable for both plants and people, because if you enjoy being in your greenhouse, you'll tend it through every season. Comfort grows plants, and it keeps you tending through storms.
Understanding Your Rain Response Needs
Before comparing products, let's clarify what your greenhouse actually requires during wet weather. This isn't just about closing vents; it's about creating a climate-responsive greenhouse that anticipates your local weather patterns while keeping your workflow uninterrupted.
Step 1: Map Your Microclimate's Rain Patterns
Grab a notebook and track: how quickly storms develop in your area, typical wind direction during rain, and how long precipitation lasts. In my Pacific Northwest location, soft drizzles linger for hours, while Midwestern growers face sudden downpours that disappear in 20 minutes. To plan zones within one structure, see our microclimate guide for vent, shade, and sensor placement tips. Your system needs different response speeds for these scenarios.
Sensory cue: If you notice condensation forming before rain starts (that clammy feeling on your skin), your system must react faster than if rain arrives abruptly.
Step 2: Assess Your Ventilation Vulnerabilities
Walk your greenhouse during light rain and note:
- Where water pools on the roof (these areas need fastest-closing vents)
- How much wind drives rain sideways through open vents
- Current drainage capacity (a sensor that closes vents too slowly becomes pointless if gutters overflow)
Climate-responsive systems don't just react to rain; they also compensate for your structure's weaknesses. A hoop house with high north walls needs different protocols than a gable-roof greenhouse.
Types of Rain Sensors Compared
Now let's examine the three main sensor technologies, including practical considerations for home growers. These aren't just technical specs, because they determine whether you'll trust the system during your busiest growing season.
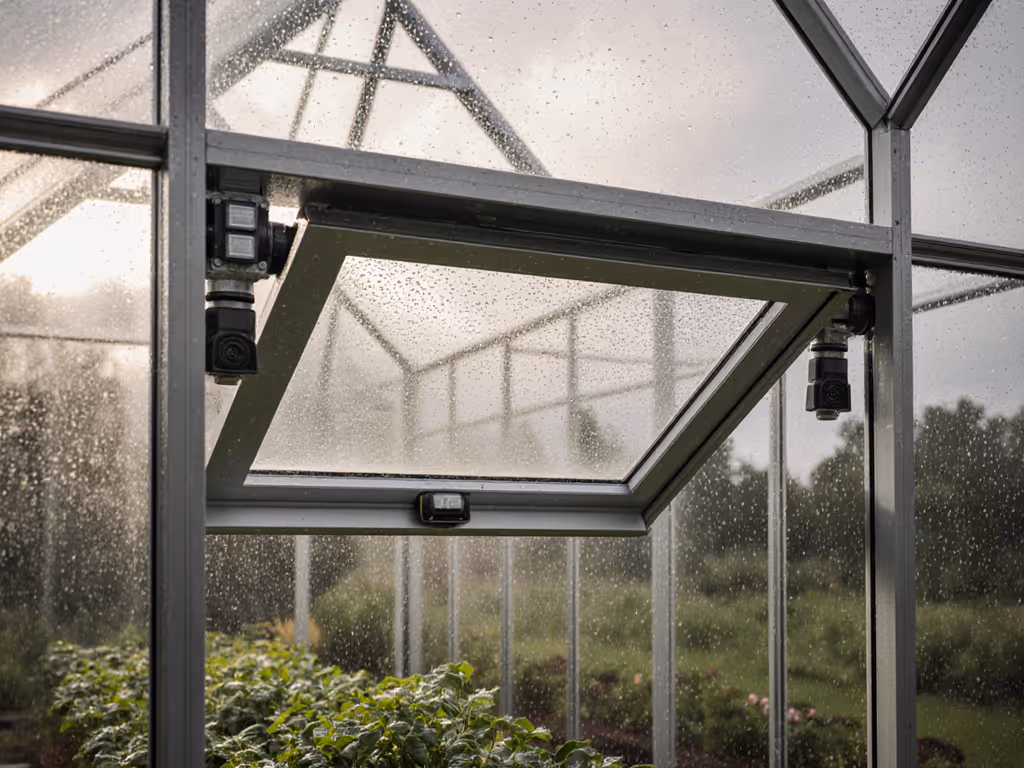
Optical Sensors: The Gentle Detectives
These use infrared light to detect water droplets on a lens surface (like the Phason Rain Sensor). Advantages:
- Fewer false triggers from dust or sprinklers
- Reacts to the first drops rather than waiting for heavy accumulation
- Completely sealed housing withstands years of UV exposure
I've found optical sensors work beautifully in coastal zones where salt air corrodes mechanical parts. They're ideal for greenhouses near automatic irrigation systems since they ignore overhead sprinkler patterns. At $120-$150, they're affordable for most home growers but require occasional lens cleaning in pollen-heavy springs.
Tipping Bucket Sensors: The Measuring Experts
These collect rain in a small bucket that tips when full, sending an electrical signal. Popular in professional systems like Weatherstat controllers. Strengths:
- Measures actual rainfall volume (critical for areas with heavy snow)
- Less prone to false triggers from condensation
- Works with existing irrigation controllers
In my Zone 5 garden, I rely on tipping bucket sensors during late fall when sudden snowstorms threaten. They precisely gauge accumulation, closing vents before heavy wet snow builds up. If snow load is a recurring issue, compare kits with verified ratings in our cold climate greenhouse comparison. The downside? They need seasonal cleaning and can freeze in subzero temps without proper housing. Expect $200-$400 for quality units.
Conductive Sensors: The Budget-Friendly Option
These use exposed metal probes where rainwater completes an electrical circuit. Found in basic kits like the Ventmate Plus. Pros include:
- Lowest upfront cost ($80-$150)
- Simple wiring for DIYers
- Good for quick downpours in dry climates
But I've replaced too many corroded probes in high-humidity regions. These require monthly maintenance in coastal gardens and false-trigger during high-fog days. Only consider them if you live in arid climates with dramatic dry-to-wet transitions. For desert setups, this pairs well with the water-saving designs in our arid climate greenhouse guide.
Beyond the Sensor: Integration That Actually Works
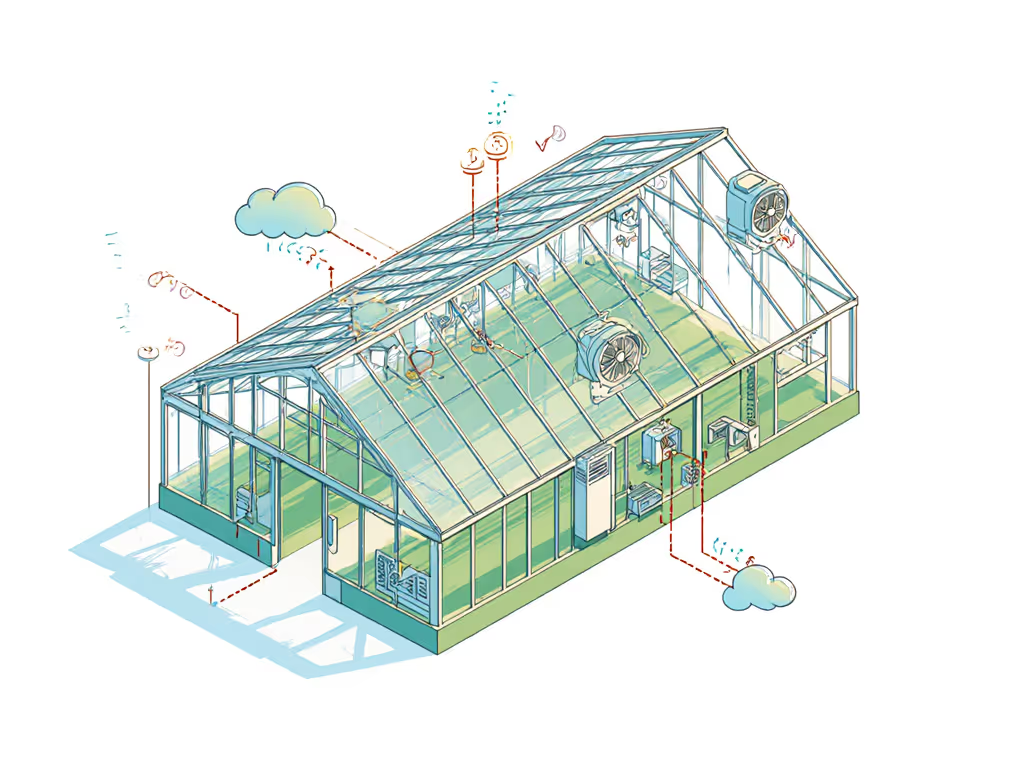
A rain sensor alone is useless without proper integration. Here's what separates gimmicks from garden-saving systems:
Step 3: Demand Delayed Reopening
The best systems wait after rain stops, not just during it. My neighbor's greenhouse developed mold because his cheap controller reopened vents immediately after rain ended, trapping humidity from wet soil. Look for:
- Adjustable dry-time settings (15-120 minutes)
- Wind monitoring to prevent reopening during gusty conditions
- Temperature cross-checks (no need to stay closed on cold rainy days)
This weather-adaptive greenhouse feature prevents the most common post-rain disaster: humidity spikes that invite fungal diseases overnight.
Step 4: Layer with Wind Detection
Rain rarely comes alone. A true storm-proof ventilation system combines rain and wind sensors like the WeatherMaster setup. Key questions to ask:
- Does high wind override rain settings? (Some systems prioritize wind safety over humidity control)
- Can you adjust wind thresholds by season? (50mph matters less in winter when plants are dormant)
- Is there manual override during emergencies?
During last year's summer thunderstorms, my dual-sensor system kept vents closed through 45mph gusts while maintaining 65% humidity, with no crop damage. Systems that only detect rain would have opened vents during wind lulls, exposing plants to damaging debris. For a deeper dive into airflow hardware, compare options in our ventilation kit analysis.
Making Your Choice: A Practical Framework
Step 5: Match Technology to Your Climate Zone
| Climate Type | Recommended System | Why It Works |
|---|---|---|
| Coastal/Moderate | Optical sensor + wind integration | Handles salt air, frequent light rain |
| Continental/Variable | Tipping bucket + temperature override | Manages rapid weather shifts and snow |
| Arid/Desert | Conductive sensor with long delay | Prevents false triggers from dust storms |
| High Wind | Wind/rain combo with independent thresholds | Prevents structure strain from sudden closures |
Step 6: Consider Your Physical Access
Design the path you'll actually use. If your control panel is buried under potting supplies, you won't adjust settings during storms. I've redesigned three clients' systems to:
- Mount controls at waist height near the main entrance
- Use color-coded switches for different weather modes
- Include status indicators visible from outside
One elderly gardener I worked with kept a cane hooked near her Weatherstat controller, and she could adjust it while seated. If accessibility is a priority, these layout tweaks pair well with our senior-friendly greenhouse guide. Accessibility isn't just nice; it's maintenance insurance.
The Human Factor: Comfort as Your Compass
Here's what no spec sheet tells you: the best system makes you want to be in your greenhouse during changeable weather. I inherited a lovely but sweltering hoop house where tomatoes scorched by noon. Now with responsive vents, I actually enjoy midday pruning during summer showers, watching rain bead on the polycarbonate while the interior stays perfectly humid.
Your automatic vent control shouldn't feel like a gadget. It should fade into the background, giving you quiet confidence that your space will handle whatever weather comes. When you stop worrying about sudden storms, you'll notice more subtle things: like how morning light hits your seedlings just right, or that first ripe strawberry after a rainy spell.
Final Checklist Before You Buy
Before installing any greenhouse rain detection system, verify these often-overlooked details:
- Wiring accessibility: Can you reach connections for seasonal maintenance?
- Power backup: Does it work during outages? (Battery options add $50-$100)
- Vent speed: Will your actuators close fast enough for your roof pitch?
- Egress safety: Do vents reopen automatically if power fails? (Check for manual release)
Remember that the most expensive system isn't necessarily the most effective. I've seen $400 setups fail because they ignored basic ergonomics: sensors mounted where prevailing winds never hit them, or controls buried behind storage shelves.
Next Steps: Building Your Confidence
Rain sensors are just one piece of creating a truly comfortable greenhouse. Once you've mastered weather-responsive ventilation, I invite you to explore:
- How thermal mass (like water barrels) complements your rain system by stabilizing humidity
- Designing seasonal workflows that leverage (but don't fight) your local climate
- Simple hand tests to monitor humidity without expensive gadgets
Your greenhouse should feel like a refuge, not a high-maintenance gadget. When you step inside during a downpour and find perfect growing conditions, you'll know you've created something that lasts, through every season, storm, and harvest.
Design the path you'll actually use, because comfort sustains the habit.
Related Articles