Plastic Greenhouse Kits: Your Budget-Friendly Season Extension Guide
By Hana Al-Khalil • 6th Dec
When you're dreaming of crisp greens in December or seedlings thriving while neighbors still scrape frost from windshields, a plastic greenhouse kit is your most accessible ally. Forget complex engineering; these structures deliver serious season extension without breaking the bank. I've seen countless gardeners paralyzed by glossy catalogs promising "year-round tropical paradises," only to abandon wilted crops after one heatwave. Let's cut through the noise and build a greenhouse kit experience that actually aligns with your climate, budget, and sanity.
Why Plastic? Cutting Through the Overwhelm
You're smart to feel skeptical. That "$299 bargain kit" on social media? It's likely polyethylene film stretched over flimsy tubing, useless against winter winds or summer scorch. But quality greenhouse film and rigid panels do exist within reach. Think of them as your garden's weather buffer, not a magic bubble. From the Midwest snowbelt to the Southwest's furnace winds, the right plastic glazing:
- Lowers entry barriers: Kits start under $500 (vs. $3k+ for glass), with assembly often possible solo in a weekend
- Adapts to volatility: Unlike rigid glass, polycarbonate panels flex under snow load without shattering
- Filters stress points: Modern films diffuse harsh sun (critical for leafy greens in summer) while trapping gentle warmth in shoulder seasons
Cool the human, save the crop. This isn't just a mantra. It's why I convinced my 80-year-old neighbor to join midday pruning again after we fixed her greenhouse's heat issues.
Climate Pairing: Stop Guessing, Start Growing
Your biggest mistake won't be overspending; it will be mismatching materials to your actual weather. Here's how to decode the chaos:
🌡️ Cold-Climate Priority: Winter Greenhouse Stamina
If your January lows flirt with 0°F, prioritize thermal mass and insulation over pure light transmission. Polycarbonate panels (specifically twin-wall) are your secret weapon. That trapped air layer? It reduces heat loss by 30% compared to single-pane glass. To compare frames and coverings built for snow load, see our cold climate greenhouse kit comparison. Pair it with:
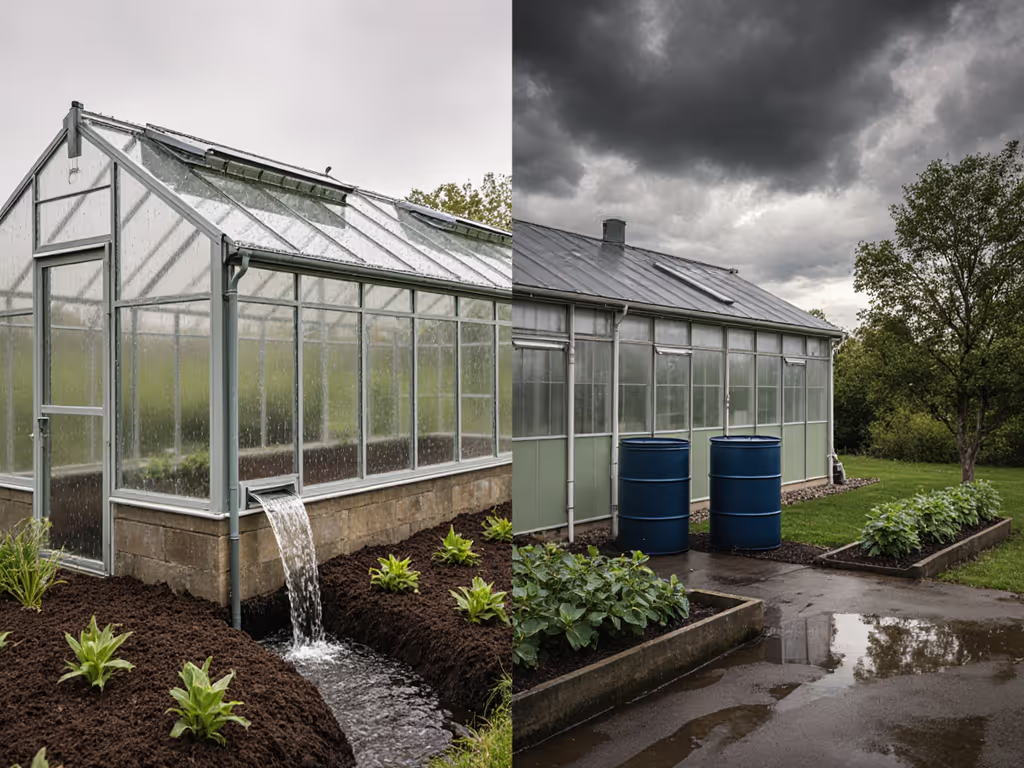
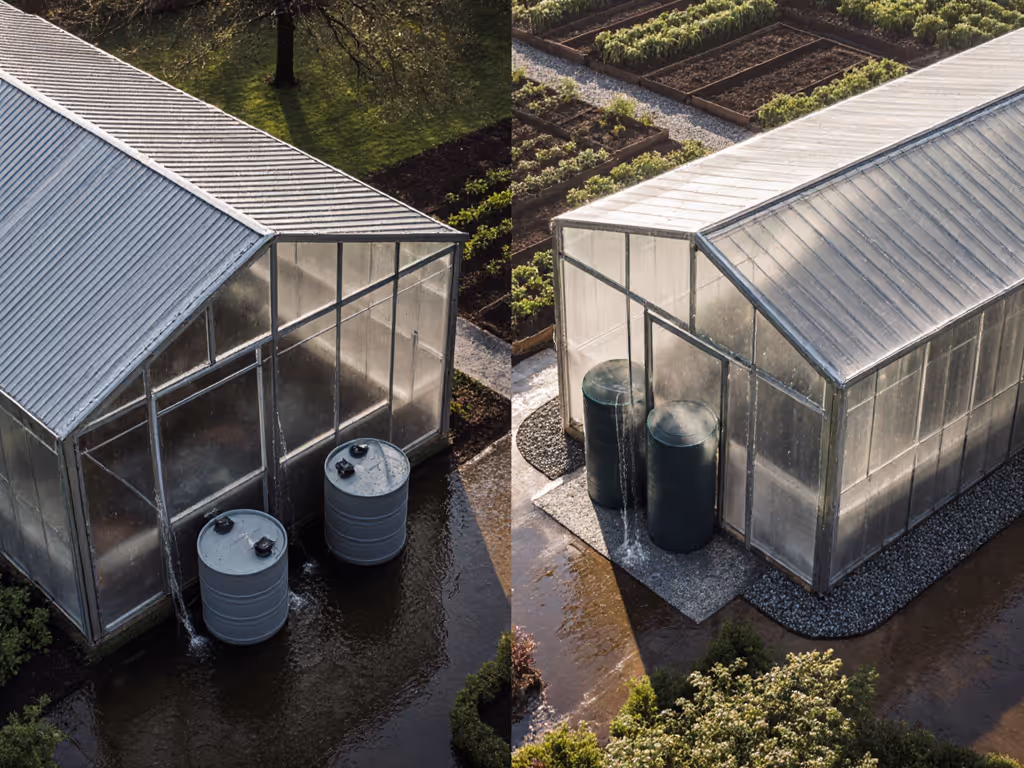
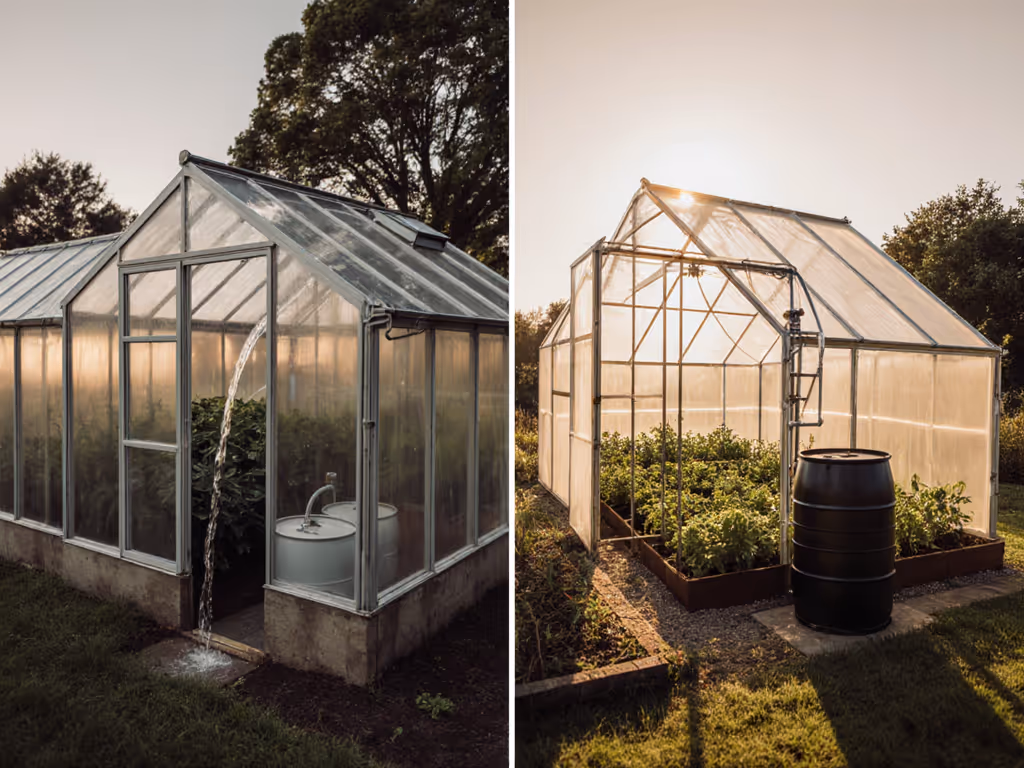
- North-wall water barrels: Fill 55-gallon drums with water painted black. They absorb daytime heat, radiating it gently at night (sensory cue: touch the barrel at dusk; it should feel warm, not hot)
- Nighttime bubble wrap: Cheat sheet: Apply 3/8" thick horticultural bubble wrap (not office supply!) to interior walls. It adds R-1.5 insulation without dimming light
- Ground-level vents: Cold air sinks. Place intake vents 6" above soil level to avoid chilling roots
Avoid this trap: Over-relying on heaters. One community garden in Vermont cut propane costs by 75% after adding these passive elements (proven by their meter readings).
☀️ Heat-Stress Priority: Summer Survival
For zones where mercury hits 95°F+ by noon, your greenhouse film must shed heat, not trap it. Silver-shaded polyethylene (not clear!) reflects 50% of solar radiation while still transmitting photosynthetic light. Critical additions:
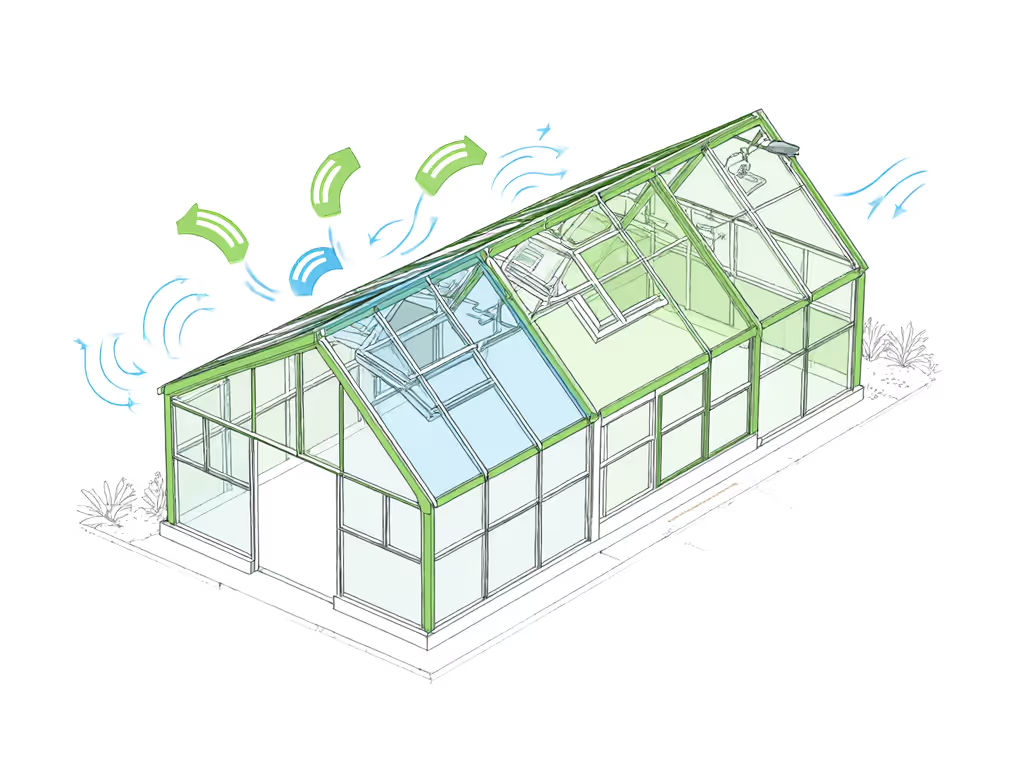
- Top-to-bottom airflow: Install roof vents and side vents. Heat rises, but without cross-breeze, it cooks your tomatoes. If overheating is your bottleneck, start with our ventilation kit comparison for small greenhouses. Aim for 15% of wall area as vent space
- Ground cover matter: Bare soil amplifies heat. Lay 2" of straw mulch; it cools roots by 8 to 10°F (verified by soil thermometer)
- Shade cloth timing: Deploy 30% shade cloth only when temps exceed 85°F. Earlier = weak, leggy plants
The Comfort-First Design Hack
Here's where most plans fail: they optimize for plants while ignoring the human. If you're sweating through bent shoulders trying to harvest kale, you'll abandon the space by July. My ergonomic non-negotiables:
- Bench height: Set work surfaces at elbow level (typically 34-36"). No more back-crushing crouching
- Path widths: Minimum 24" for wheelbarrows; 36" for two people to pass comfortably (critical for elder helpers)
- Mental respite zones: Tuck a stool under a bench on the shadiest side. This spot should stay below 80°F when it's 95°F outside (your refueling station)
Last season, I watched a gardener in Phoenix revive her abandoned seed-starting routine simply by adding a bamboo bench on the north corner. She texted me: "Finally cool enough to sit while I check sprouts." That's the magic: comfort grows plants, and keeps you tending through storms.
Assembly Reality Check: Avoiding the "Why Did I Do This?" Moment
Kit frustrations often stem from poor planning, not faulty parts. Pick a kit that matches your skill level using our assembly difficulty ratings. Before breaking ground:
- Measure your migraine risk: Count all required tools (for example, a 5/16 in. nut driver, not just a screwdriver). If you lack three tools, factor in rental costs
- Test-fit on grass first: Assemble the frame without anchoring. Spot warped parts or confusing holes before you're half-finished
- Anchor for your worst storm: In windy zones, use auger anchors rated for 150+ mph (not the included ground stakes). Your local hardware store can spec these
- Schedule smart: Build on a cool, cloudy day. Clear plastic warps when stretched under direct sun
A teacher in Colorado shared how she rallied students for "greenhouse assembly day" after pre-fitting parts. They finished in 4 hours instead of the promised 2 days, because she knew the blueprint before day one.
Your Next Step: The 10-Minute Climate Audit
Skip the endless spec sheets. Grab your phone right now:
- Sun tracking: At 10 AM, noon, and 3 PM, note where shadows fall on your planned site (use a stick as marker)
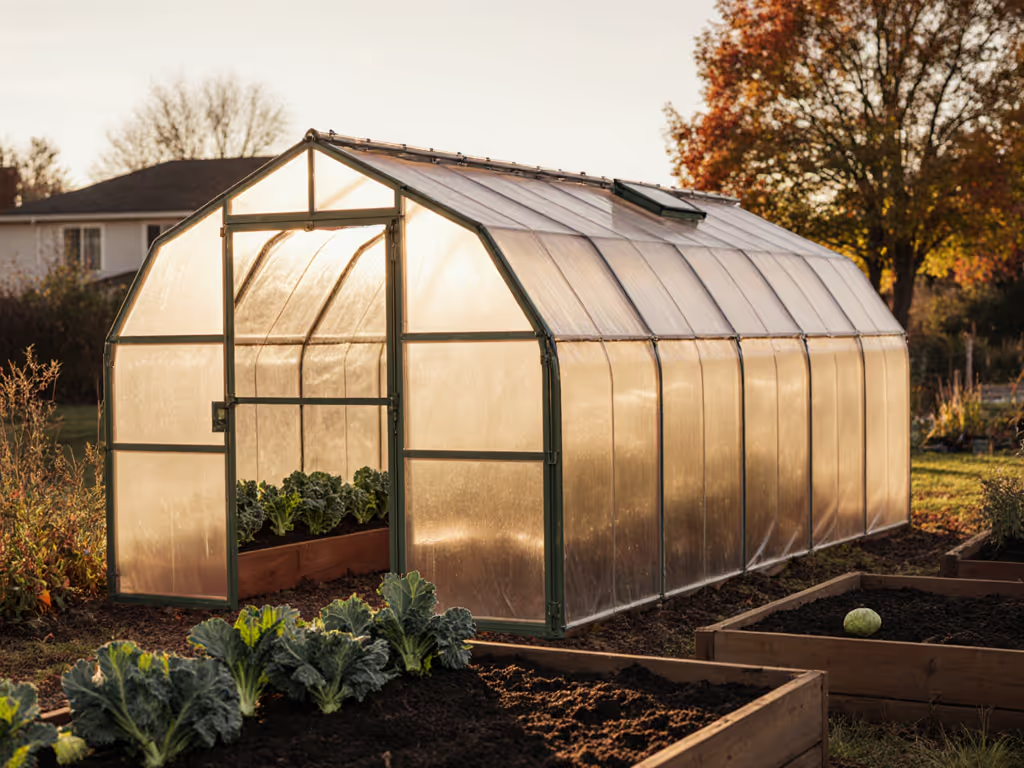
- Wind watch: Stand barefoot outside. Can you feel air movement? Strong gusts = prioritize rounded-roof designs (less wind resistance) For high-wind sites, round or geodesic frames from our round greenhouse kits guide shed gusts better than flat walls.
- Frost check: Place shallow dishes of water overnight. Empty spots = frost pockets to avoid
This sensory scan costs nothing but reveals more than any "universal" kit promise. When that elderly neighbor started joining me for midday pruning, it wasn't the tomatoes that sealed the deal; it was the space finally feeling good to inhabit. That's the true ROI of a plastic greenhouse: a sanctuary where you'll keep sowing seeds through every season.
Curious how your microclimate's quirks translate to specific materials? I've mapped common North American weather pain points to glazing solutions in my free Season Extender's Climate Cheat Sheet. Grab it below; your future self (and harvests) will thank you.
Related Articles