Small Greenhouse Space Strategy: Maximize Your Harvest
By Hana Al-Khalil • 3rd Oct
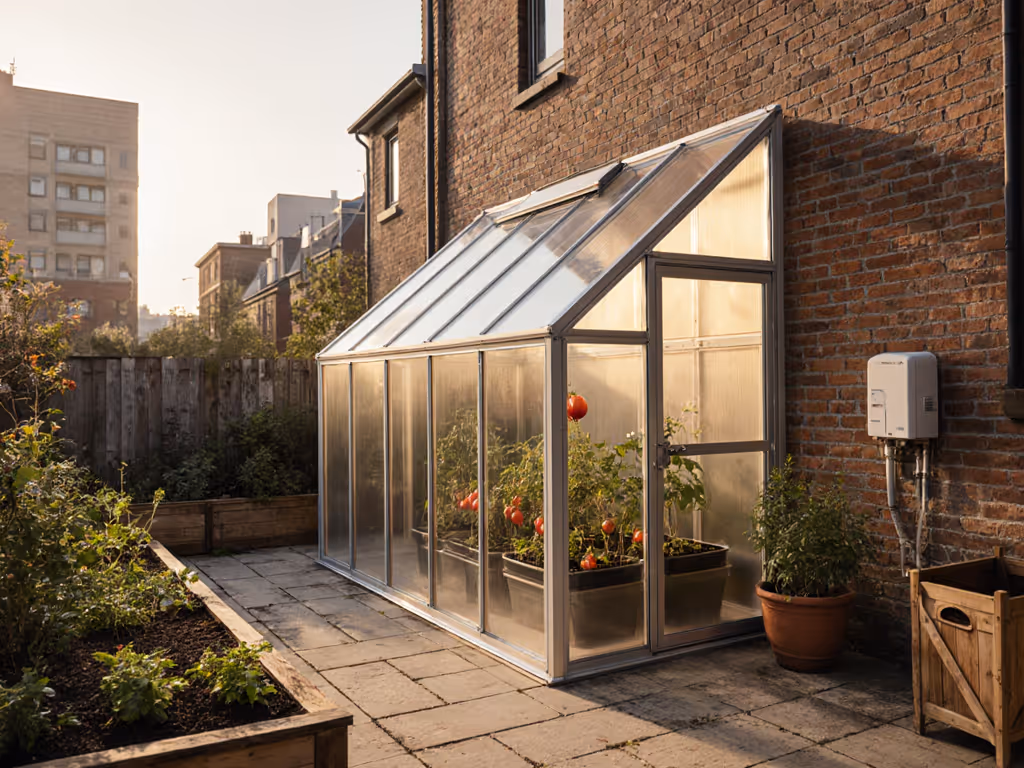
When my small greenhouse first arrived (a charming but sweltering hoop house), it felt like a burden, not a blessing. Tomatoes scorched by noon, and I dreaded stepping inside. But a traditional greenhouse doesn't have to be a climate battleground. By reimagining space through human-centered design and passive strategies, I transformed it into a sanctuary where plants thrived and neighbors sought refuge. The secret? Maximizing greenhouse space isn't about cramming in more plants, it's about creating a space you want to tend, day after day. Comfort grows plants, and keeps you tending through storms.
Why Tiny Spaces Thrive: The Human Scale Advantage
Most gardeners assume bigger is better. But a compact greenhouse offers hidden advantages: faster temperature stabilization, easier humidity control, and, when designed right, less energy drain for heating or cooling. The key is aligning layout with your movement patterns, not just plant needs. I once mapped my steps during a pruning session and realized I'd walk 40 extra feet daily just to fetch tools. That's time and energy better spent observing plant health.
Comfort sustains the habit; if you enjoy the space, you'll tend it through every season.
Step 1: Map Your Microclimate Like a Pro
Start with sensory observation, not just thermometers. Stand inside your greenhouse garden at 10 a.m., 2 p.m., and 6 p.m. for three days. Note where sunlight burns your arm (direct beam) versus where it feels gentle (diffused). Mark hot zones with a red rock, cool spots with blue. This low-tech mapping reveals critical patterns:
- Morning sun zones: Ideal for seedlings and moisture-loving greens
- Midday scorcher spots: Reserve for heat-tolerant tomatoes, or cover with shade sails
- Evening cool pockets: Perfect for delicate herbs or seed-starting shelves

In my hoop house, I discovered the north wall stayed 8°F cooler all day (perfect for water barrels that stabilized nighttime temps). For practical techniques to create and manage micro-zones in one structure, see our microclimate zoning guide. Your "aha" moment might be realizing that afternoon glare bakes your bench area, making it unusable. Fix this before planting.
Step 2: Design Zones That Flow With Your Body
Forget rigid "potting/storage/plant" divisions. Instead, design the path you'll actually use by mimicking your natural workflow:
- The "First 3 Steps" Rule: Place your most-used tools (watering can, pruners, notebook) within arm's reach of the door. I keep mine on a wall-mounted rail (no bending or searching).
- Potting Pulses: Cluster soil, pots, and cleanup supplies near a sink only if you use them daily. Otherwise, tuck this zone in a corner with a fold-down bench to reclaim space. My elderly neighbor taught me: if you can't stand comfortably here for 20 minutes, you'll avoid it.
- Plant Neighborhoods: Group crops by water needs, not species. Tomatoes? Pair with basil (similar moisture) but keep ferns across the aisle. This reduces disease risk and simplifies care.
Step 3: Embrace the Vertical Dance
Vertical space isn't just for trellises, it's for movement. I use three-tiered shelving with intentional gaps:
- Top shelf: Seedlings (closest to light, but protected from midday sun)
- Middle shelf: Active growers (easy eye-level monitoring)
- Bottom shelf: Heavy pots (water barrels, mature tomatoes, no back strain)
But here's the game-changer: scatter planting greenhouse style. Instead of uniform rows, tuck fast-growing radishes between slow-maturing peppers. As radishes harvest, peppers fill the gap. This mimics forest ecology, nature's original space optimizer. I recently grew 370 lettuce heads in a 6x8' greenhouse using staggered planting: small varieties on edges, towering oakleafs in the center. The secret? Leaving 18 inches of clear floor space for your access path (you can't harvest what you can't reach).
Step 4: Thermal Wisdom Over Tech
Skip expensive ventilation kits. Passive cooling is quieter, cheaper, and more reliable:
- Strategic Shade: Use removable white shade cloth (attached with carabiners) only on afternoon panels. My neighbor jokes it turns the greenhouse into "a cool library versus a sauna."
- Water Walls: Line north walls with recycled food-grade barrels. Dark paint boosts heat absorption, and they release warmth at night, reducing heating needs by 30% in spring/fall (confirmed by USDA climate studies).
- Night Ventilation: Install a simple roof vent with a wax actuator (opens at 75°F). It costs less than $20 and runs without electricity.
Remember: Condensation tells a story. If droplets bead on east panels each morning, your plants are breathing, but if they linger past 10 a.m., airflow is too weak. Adjust vent placement accordingly.
Step 5: The 10% Rule for Sustainable Growth
Resist overfilling. Reserve 10% of floor space for your movement, this isn't wasted area, it's harvest insurance. Every gardener I know who lost crops to pests or disease first sacrificed access for density. When space feels generous, you notice problems earlier. My happy accident? Leaving room for a folding chair. Now I sip tea while observing leaf curl or blossom drop, a small luxury that doubled my intervention speed.
Your Space, Your Sanctuary
A cramped greenhouse becomes a chore; a thoughtfully designed one becomes a refuge. I no longer dread summer afternoons in my little hoop house. Instead, I watch bees flock to the mint on my north bench while the soil stays moist under strategic shade. That neighbor who used to avoid it? She now teaches grandkids how to stake tomatoes there at noon.
Related Articles