Greenhouse Fan Comparison: Climate-Tested Ventilation for Crop Safety
By Priya Shah • 20th Jan
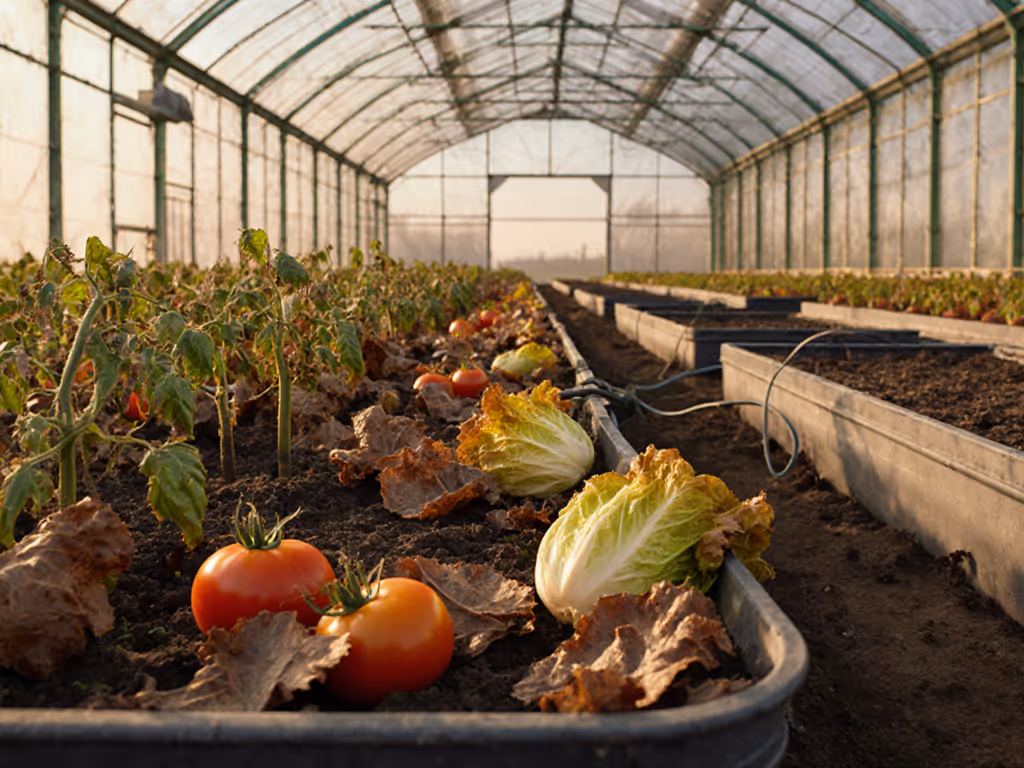
When your lettuce bolts in a heatwave or mildew wipes out your tomatoes, you quickly realize a greenhouse fan isn't just an accessory (it's crop insurance). Most growers know ventilation matters, but few grasp how a climate-adapted greenhouse system pays for itself through avoided losses. I've seen gardeners install $200 fans that fail during critical heat spikes, while others stretch budget-friendly setups to cover five growing seasons. The difference? Total cost of ownership isn't just the sticker price: it's how smartly you match airflow to your microclimate. Value isn't the lowest price; it's the right bones and smart add-ons for your weather pattern.
The Crop-Killing Cost of Guesswork Ventilation
Last summer, Midwest growers reported 40% tomato losses when temperatures hit 102°F for 72 hours straight. Why? Most used undersized axial fans sized for 'average' conditions, not the heat domes becoming routine. When your greenhouse fan can't move enough air at the static pressure your structure creates, you're gambling with your harvest.
Let's break down the hidden math:
- Energy Waste: A 36-inch fan running 12 hours/day at $0.15/kWh costs $131 annually
- Crop Loss: A single heatwave destroying $400 of produce negates 3 years of fan costs
- Maintenance Drain: Non-climate-matched fans fail 2-3x faster in humid zones
I learned this hard lesson when grocery prices spiked, tracking every bolt, bracket, and kilowatt while comparing a mid-range polycarbonate kit against a DIY tunnel. The ventilation system made or broke the ROI.
Airflow Physics vs. Marketing Hype: What Actually Works
Most fan reviews skip the critical nuance: static pressure. Your greenhouse isn't a wind tunnel; it's a pressurized box with walls, crops, and benches creating resistance. That's why 'CFM ratings' alone are meaningless. As University of Florida researchers confirm, a fan rated for 10,000 CFM at 'free air' might deliver just 7,500 CFM at the 1/8" static pressure typical in real greenhouses.
Fan Types Through a Cost-Per-Cubic-Foot Lens
| Fan Type | Best For | True Cost (5-yr TCO) | Climate Limitations |
|---|---|---|---|
| Axial | Small-to-medium (<800 sq ft) | $180-$450 | Struggles above 90°F; noisy in humid zones |
| Centrifugal | Large/high-humidity spaces | $300-$800 | Overkill for small setups; higher initial cost |
| HAF (Horizontal Air Flow) | Uniform canopy temps | $220-$600 | Requires precise spacing; ineffective in narrow beds |
Budget is a design constraint, especially when your fan's 'quiet operation' claim vanishes under humid conditions.
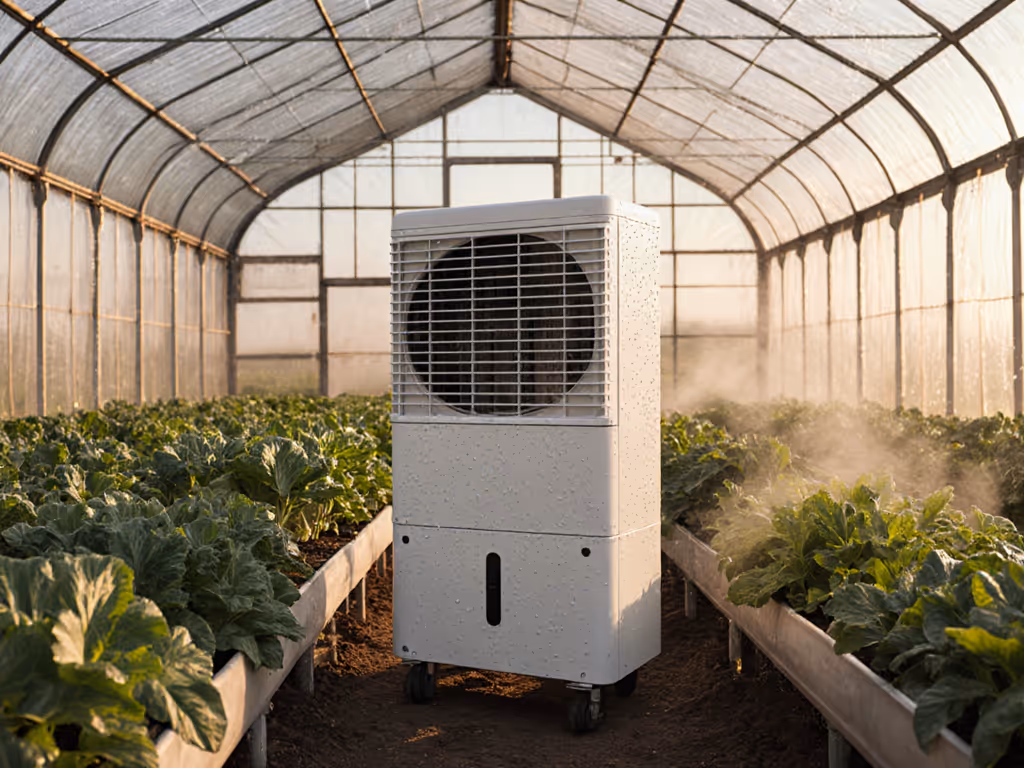
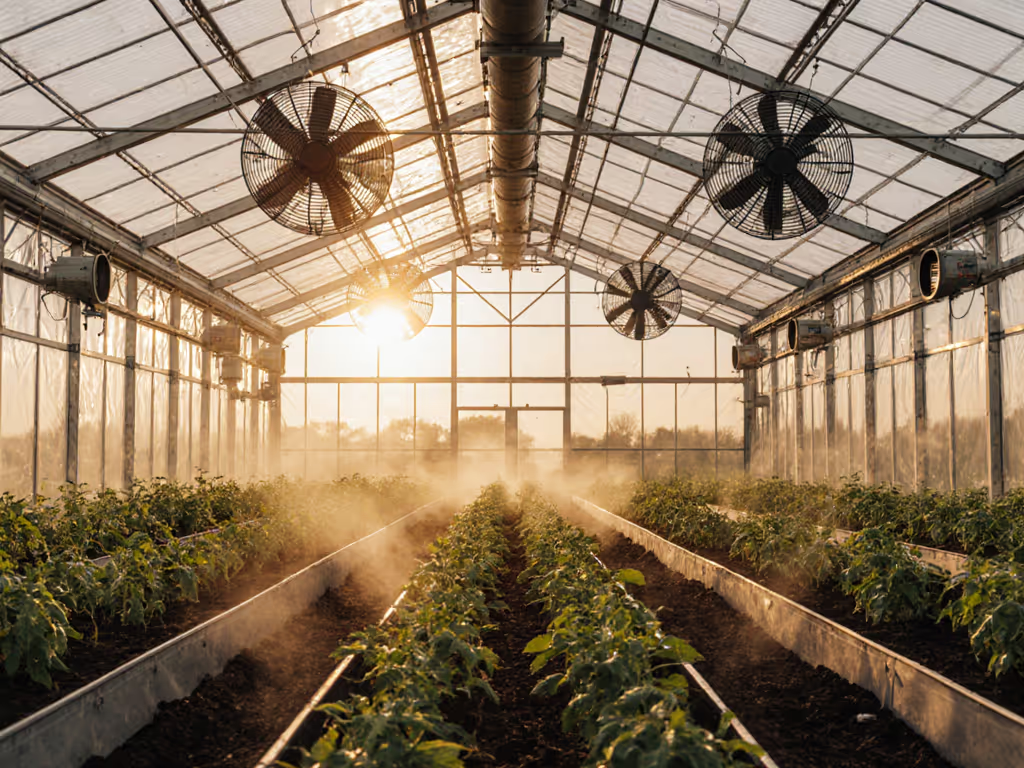
The overlooked factor? Airflow patterns. If you're balancing diverse crops in one house, use our microclimates guide to shape airflow into productive zones. MORR Inc.'s layout studies show single large fans create dangerous dead zones (40% coverage), while 3-5 medium units achieve 85% coverage with 22% lower humidity spikes. For a 20x30' greenhouse, this means:
- 1× 48" fan (17,640 CFM): $980 installed, but leaves the north corners at 95% humidity
- 2× 36" fans (7,580 CFM each): $1,120 installed, maintains <75% humidity throughout
You're not paying for airflow; you're paying for disease prevention. For heatwave-ready hardware options, compare our ventilation kit picks tested in small greenhouses. That $140 difference vanishes after one saved crop.
Climate-Specific Ventilation: Your Step-by-Step Selection Guide
Stop searching for 'the best greenhouse fan' and find your best fan. I've built line-item budgets for three climate scenarios showing exactly where to invest and where to DIY:
Temperate Zone (40-85°F typical range)
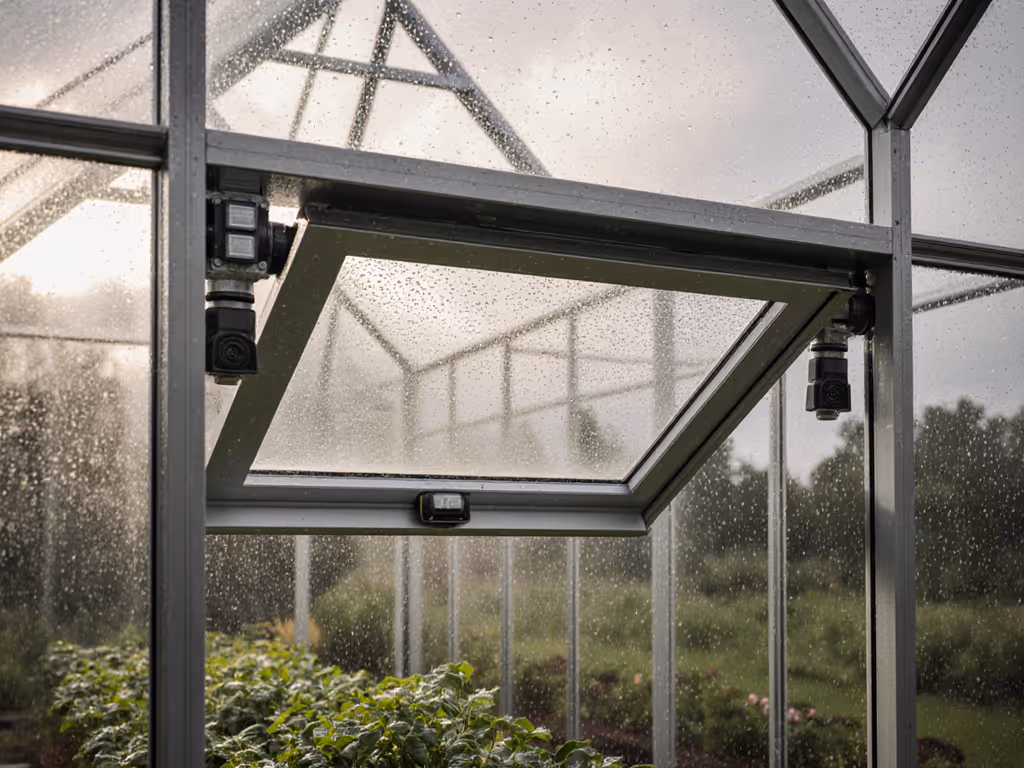
- Priority: Cross-ventilation efficiency during shoulder seasons
- Smart Setup: 2× 24" axial fans ($475 total) + manual roof vents
- Critical Hack: Angle fans to create 8-10 ft/sec airflow between plants (slows fungal spores)
- 5-Year Savings: $1,200 vs. automatic systems that run unnecessarily in mild weather
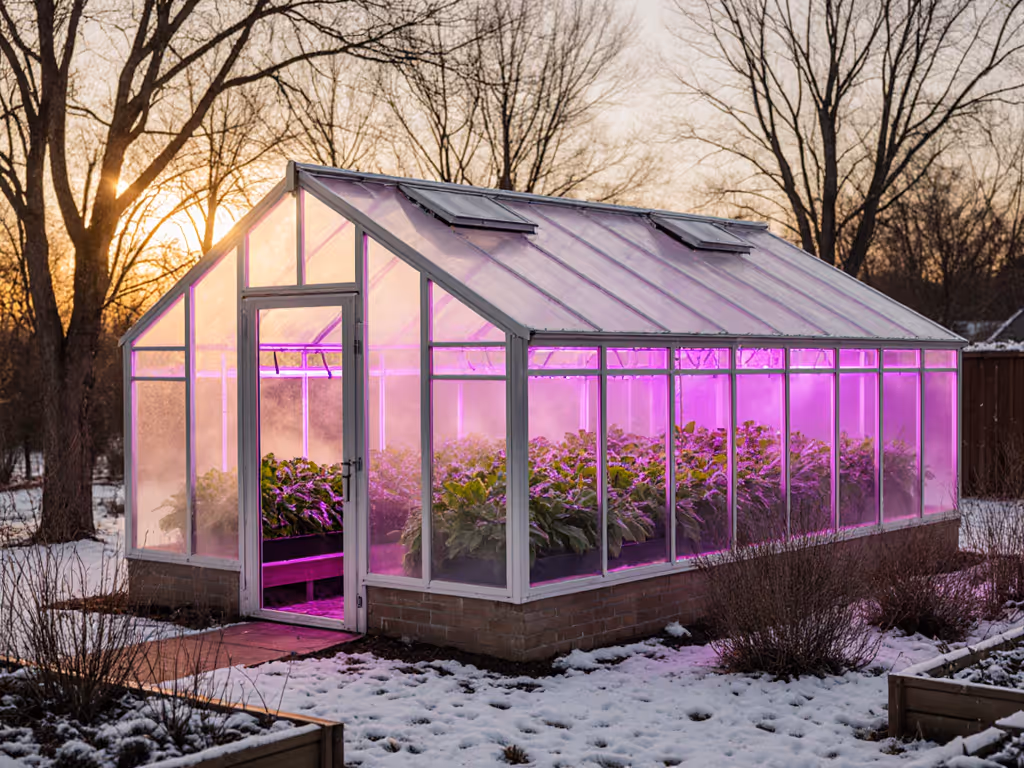
Humid Zone (70%+ RH, frequent storms)
- Priority: Continuous moisture removal without chilling crops
- Smart Setup: 3× 20" centrifugal fans ($780 total) + thermostat control
- Critical Hack: Add 15% CFM capacity (poly greenhouses retain 15% more moisture than glass)
- 5-Year Savings: $900 in avoided fungicide treatments and lost harvests
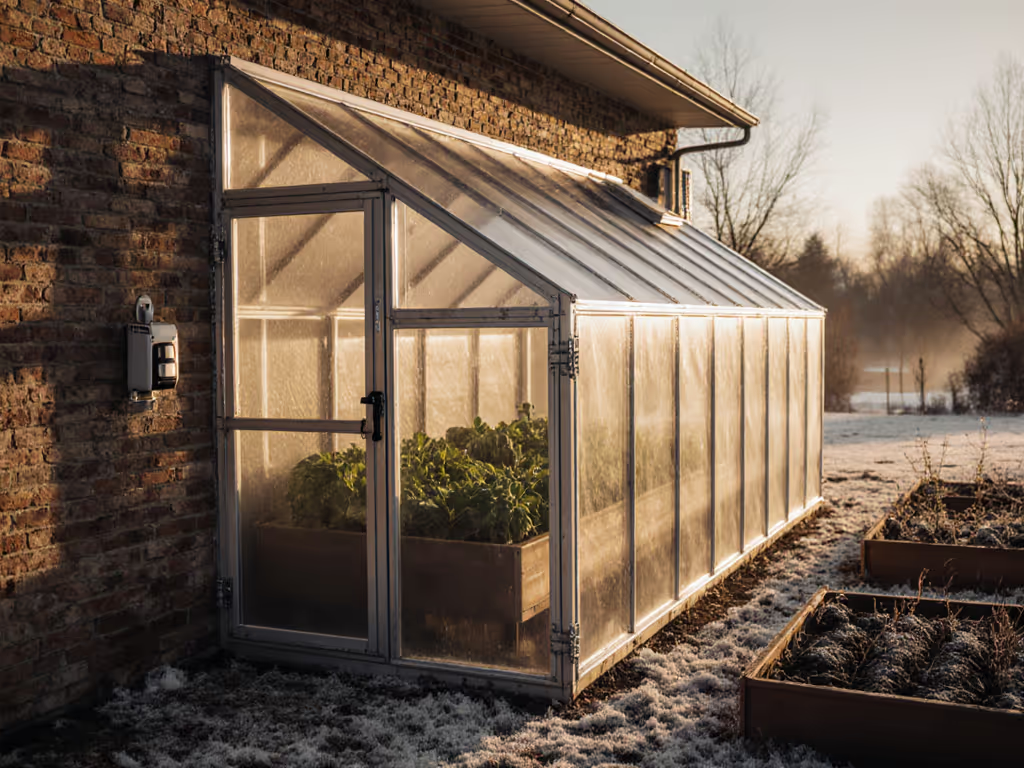
Arid Zone (100°F+ summers, low humidity)
- Priority: Heat removal without drying crops
- Smart Setup: 1× 48" exhaust fan ($620) + evaporative cooler + shade cloth
- Critical Hack: Time fans to run early morning/late evening (saves 60% energy vs. midday)
- 5-Year Savings: $1,600 in reduced water usage and consistent yields
Notice the pattern? Pay for structure; hack the rest as climate demands. In humid zones, I skipped expensive solar thermostatic fans ($300 each) because manual adjustments during rainy spells gave identical results. But in arid zones, I invested in larger exhaust capacity because heat spikes require immediate response, no time for DIY fixes. Desert growers should also see our arid climate greenhouse guide for shading, evaporative cooling, and water-saving ventilation choices.
Making Your Decision: The Climate-Adapted Checklist
Before buying any fan, answer these questions with your specific conditions in mind:
- What's your worst-case static pressure? (Measure total obstructions - shelving, crops, walls - then add 15% buffer)
- When do you need airflow most? (Peak heat = exhaust fans; humidity control = HAF circulation)
- What's your actual CFM need? Calculate: (Greenhouse cubic feet × 2 air changes) ÷ 60 minutes = required CFM
- Where's the failure point? (Motor quality matters most in humid zones; blade pitch critical in arid winds)
- Can you stage upgrades? Start with manual roof vents + 1 axial fan, add thermostatic control when budget allows
I've seen too many growers buy 'complete ventilation kits' that include features they'll never use. That $500 'smart controller' becomes a paperweight when growers realize simple thermostats solve 90% of their needs. If you do want automation, follow our smart climate control guide to choose sensors and controllers that actually pay off. Track your actual conditions for 2 weeks using a $20 hygrometer before committing to automation.
Your Action Plan: 30 Days to Crop-Safe Ventilation
- Week 1: Measure your greenhouse volume and typical heat/humidity spikes (use free apps like Weather Underground)
- Week 2: Calculate required CFM with 20% buffer, add 15% more if using poly instead of glass
- Week 3: Compare fan performance curves at 1/8" static pressure (not 'free air' ratings)
- Week 4: Build your staged solution - start with essential structure, then add climate-responsive features
When my kids brag about December lettuce wraps, it's not because we bought the most expensive gear. It's because we matched ventilation to our microclimate, starting with solid structure, then adding rain catchment and shade sails as conditions demanded. That December harvest paid back our vent upgrade in month 22, counting every bracket and kilowatt.
Your greenhouse isn't just a structure; it's a living system. Invest in ventilation that adapts to your weather, not just your budget. Track your first season's conditions, then refine. That's how you build a climate-adapted greenhouse that delivers ROI through every season, not just perfect weather days.
Related Articles