Greenhouse HVAC Integration: Energy-Efficient Growing Year-Round
By Hana Al-Khalil • 11th Mar

An integrated greenhouse HVAC system (one where heating, cooling, ventilation, and humidity control work as a coordinated whole rather than competing independently) is the foundation of year-round growing that doesn't drain your wallet or test your patience. This guide walks you through the principles, components, and decision steps to design a climate control strategy that matches your site, your crops, and your willingness to tend.
Why Integration Matters: Comfort Grows Plants, and Keeps You Tending Through Storms
Many growers start with a single heat source or a standalone exhaust fan, only to discover they're fighting moisture spikes, cold corners, or wasted energy. That fragmented approach leaves you troubleshooting rather than harvesting. For a deeper dive into sensor-driven automation and DIY integrations, see our smart climate control guide.
Integration means your systems talk to each other. When your ventilation runs, it coordinates with heating so you're not heating and cooling at the same time. When humidity spikes, a zoned controller stages vents first, adds a circulation fan second, and only then applies compressor cooling if needed. This sequencing cuts energy use by 30-50% compared to conventional independent systems.
I inherited a sweltering hoop house years ago where tomatoes scorched by noon and I dreaded stepping inside. The air was thick, the floor radiated heat, and nothing felt under control. Once I mapped sun angles and added a few simple passive layers (raised vents, a white shade cloth, and water barrels tucked along the north wall to absorb midday heat), the space dropped ten degrees. Suddenly, I wanted to be in there. My elderly neighbor started coming in at midday to prune. Comfort sustains the habit; once your greenhouse is a place you enjoy, you'll tend it through every season.
Step 1: Understand Your Heat and Cooling Load
Before you buy a single heater or fan, ask for greenhouse-specific load calculations (not rules of thumb). A local HVAC contractor should provide written heating and cooling load figures based on your glazing type, building envelope tightness, infiltration rates, and local climate. Include transpiration from your plants and any internal heat from grow lights. To right-size equipment by material, compare R-values and diffusion in our polycarbonate vs glass vs film glazing tests.
Oversizing equipment causes short cycling, poor dehumidification, and wasted energy. Undersizing risks crop stress and uneven temperatures. The right-size heater or cooling system is like choosing a winter coat: too big or too small both miss the mark. The right fit keeps conditions steady and efficient.
If you're unable to hire an engineer, document:
- Greenhouse footprint (length × width × height to eave)
- Glazing type and area (single, double, or triple polycarbonate; single or double glass; percentage of wall vs. roof)
- Insulation in walls, floor, or foundation
- Your coldest winter month and typical low temperature
- Your hottest month and typical high temperature
- Your target crops (tender annuals, hardy greens, propagation) and their temperature and humidity ranges
- Hours of operation and lighting load (if any)
These details inform whether you need a 10 kW heater or a 40 kW system (a massive difference in upfront cost and monthly bills).
Step 2: Layer Passive Strategies Before Adding Mechanical Equipment
The cheapest and most reliable climate control happens before you plug in anything. Start with load reduction.
Air-sealing alone (caulking cracks, weatherstripping doors, ensuring vents close tight), plus perimeter insulation, typically save 5-15 percent on heating energy with a 1-2 year payback. Double glazing or double-layer polycarbonate further cuts radiant loss on winter nights. Thermal or energy curtains that close at dusk reduce infiltration when plants aren't photosynthesizing.
Next, add thermal mass: water barrels, masonry, or phase-change materials that absorb excess midday heat and release it after sunset, moderating temperature swings. Position these along a shaded wall (north side in the Northern Hemisphere) so they don't compete with your growing space. A 55-gallon barrel holds roughly 416 pounds of water (substantial thermal capacity in a small footprint). For full-system strategies that combine orientation, thermal mass, and insulation, explore our passive solar greenhouse guide.
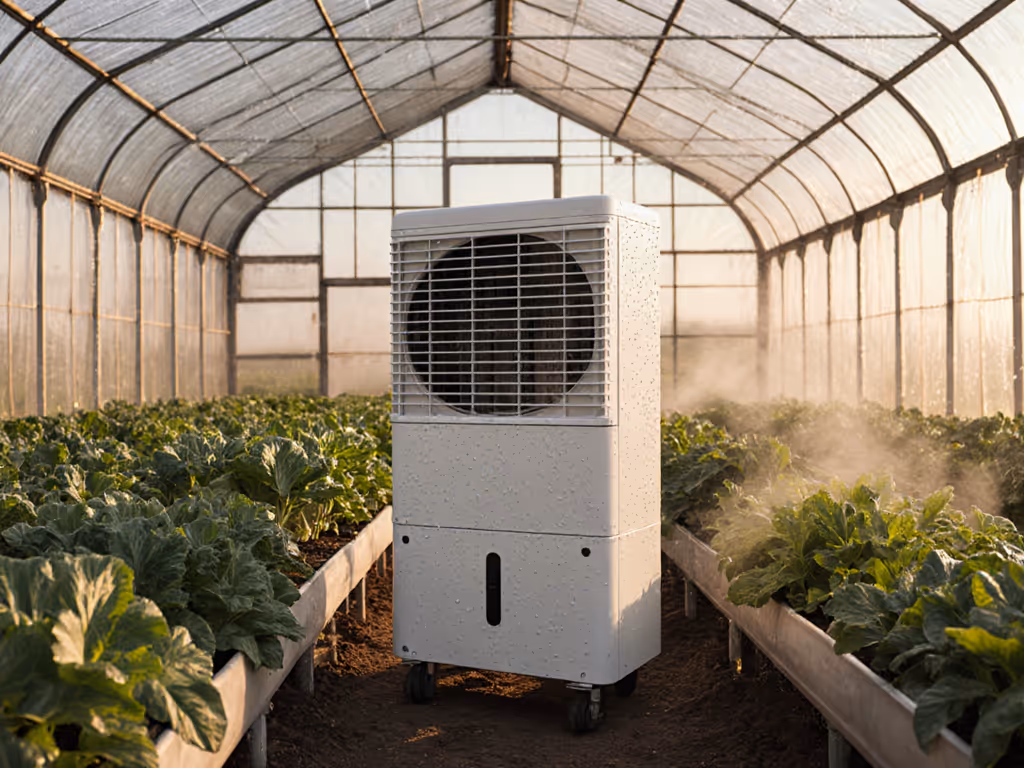
For cooling, passive ventilation and shading come first. Design your roof and sidewalls to include at least 20 percent operable area: roll-up sides, ridge vents, and end-wall louvers. Shade cloth at 30-60 percent density, adjusted seasonally, blocks excess summer sun without turning your greenhouse into a cave during spring and fall propagation. In dry climates, evaporative cooling pads or fog systems add moisture while dropping temperature, and they cost a fraction of mechanical air conditioning.
Step 3: Choose Heating and Cooling Components That Integrate Well
Once you've reduced the load, right-size your active systems.
For heating, hydronic (hot-water) systems are the workhorse. A boiler heats water, which flows through insulated pipes to radiant floor systems, bench-top mats, or unit heaters. Hydronic heating is efficient, responsive to control inputs, and distributes warmth evenly without hot spots that stress plants. Unit heaters offer flexibility and quick response, but can create cold zones if not positioned carefully.
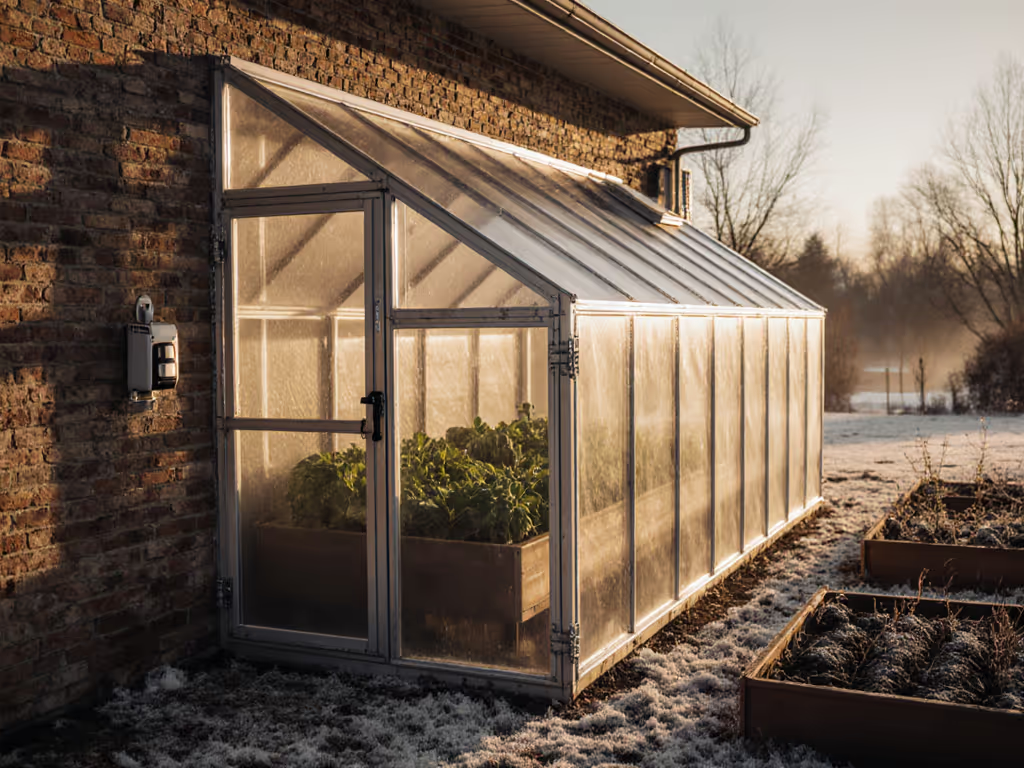
For smaller operations or light loads, a single propane or natural-gas unit heater may suffice. Verify that your greenhouse has adequate fresh-air intake (usually a louvered opening near the heater intake) to prevent combustion-air starvation and carbon dioxide depletion.
For cooling and dehumidification, layer your approach:
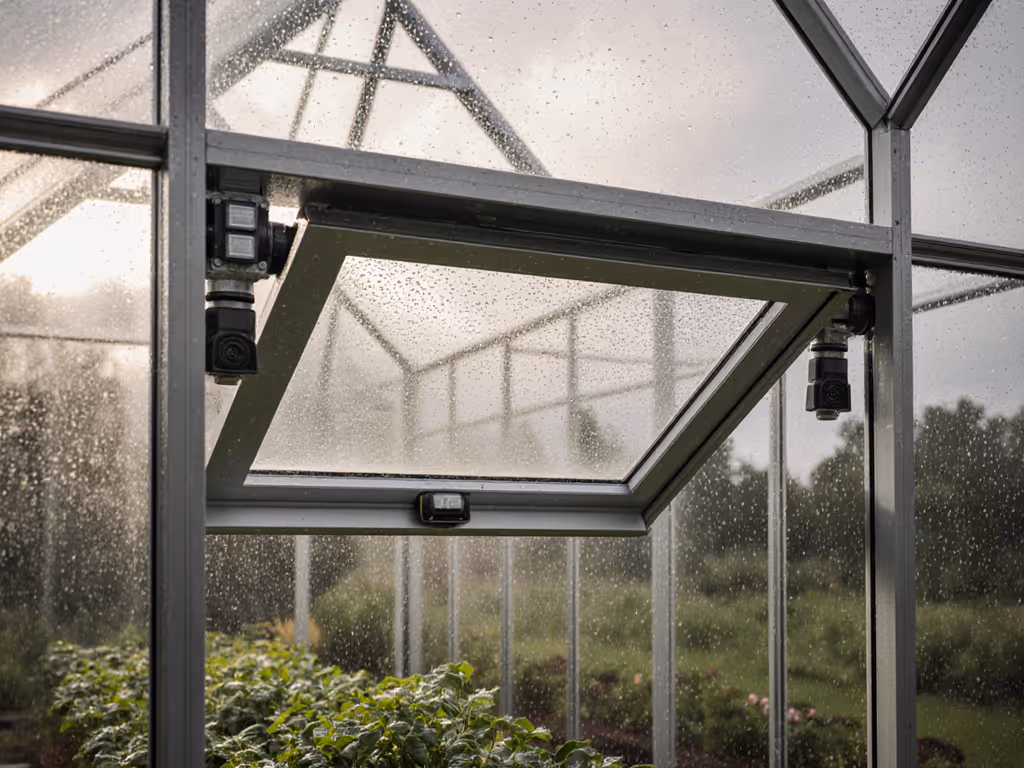
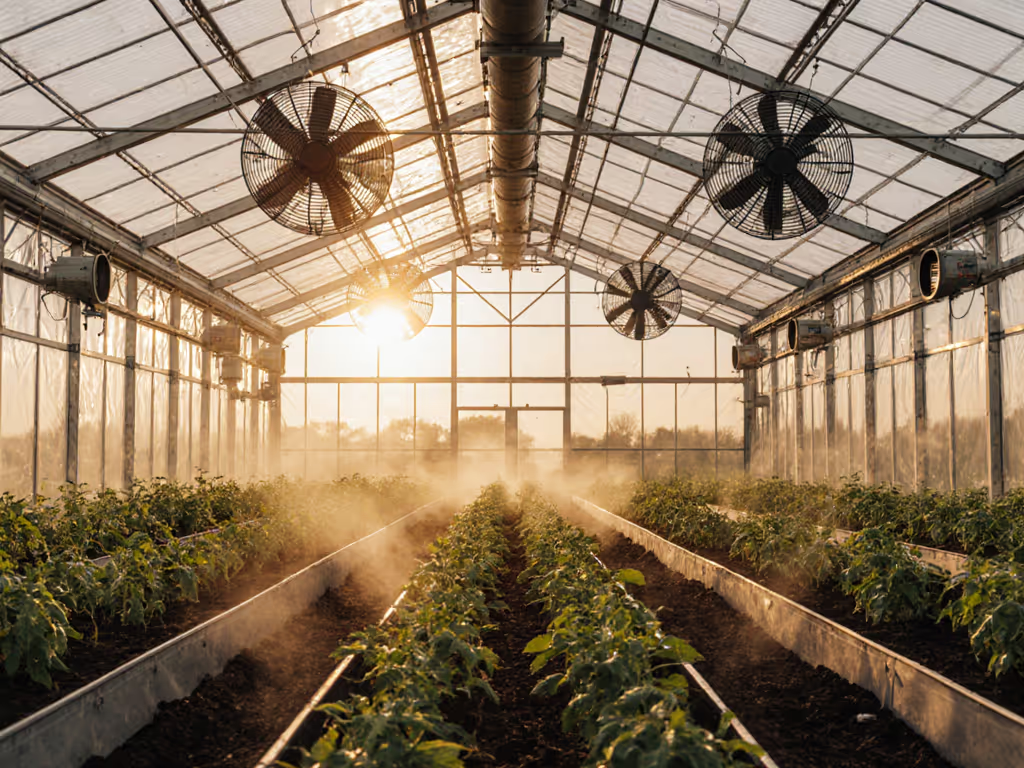
- Exhaust and intake fans (thermostatically controlled): pull warm air out and draw cooler outside air in, removing both heat and moisture without energy-heavy compressor cooling. Use these data-driven picks to match CFM and airflow paths: greenhouse fan systems compared.
- Circulation fans: move air around to even out temperature gradients and prevent humidity pockets.
- Evaporative pads or walls (in arid climates): add latent cooling and moisture.
- Mechanical dehumidifiers or air conditioning: deploy only when temperatures exceed your crop's tolerance and passive steps can't keep pace. If humidity is your limiting factor, review our greenhouse dehumidifier kits compared.
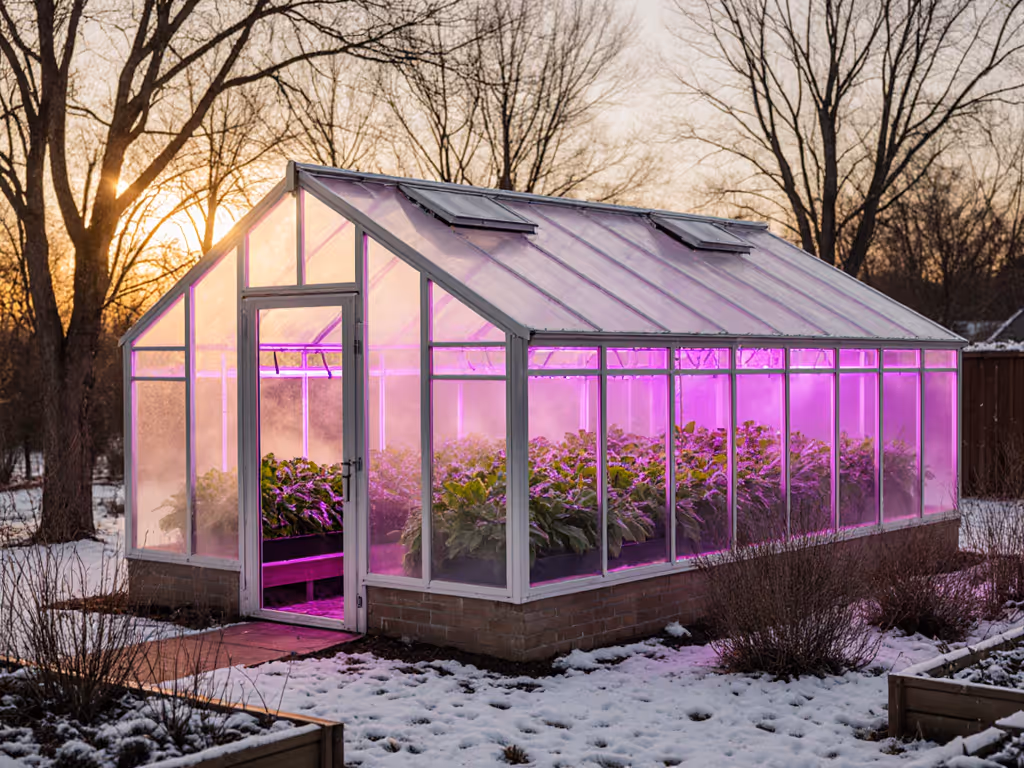
Integrated systems, such as vertical grow-room units that combine heating, cooling, dehumidification, and CO2 enrichment in one cabinet, can reduce compressor tonnage by 30-50%, saving significant energy. These suit controlled-environment operations; for traditional greenhouses, layered component integration is more cost-effective.
Step 4: Install Controls That Coordinate Everything
The difference between a collection of equipment and an integrated system is controls.
Start simple: a thermostat with narrow deadbands (e.g., heat at 62°F, stop at 64°F) prevents overshooting and short cycling. Layer in a humidistat to stage ventilation or dehumidification if moisture rises above your target relative humidity.
For more precision, use a differential controller that compares inside temperature to outside temperature and automatically triggers vents or fans when the inside-outside delta exceeds a setpoint. This minimizes heating or cooling against the weather.
Schedule vents, fans, and heating together: if vents open and heating kicks on simultaneously, you're wasting fuel. Instead, program your controls to:
- Open vents and run circulation fans first (free cooling)
- Raise humidity if needed (if you're cooling a dry crop space, a mist system adds moisture without mechanical dehumidification)
- Add evaporative cooling as temperature climbs
- Bring on compressor cooling only when daytime peaks exceed your setpoint and passive steps have maxed out
For night heating, use night setpoint logic: when outdoor temperature drops below a threshold, heat runs to maintain your night target (usually 8-10°F lower than day). During shoulder seasons (spring and fall), night heating may be minimal or zero.
Zoning further cuts energy: if you propagate heat-loving seeds in one corner and grow hardy greens in the main space, use a thermal curtain or partition to isolate the propagation zone and heat only that area. A small ceramic heater or heat mat in the propagation zone will outpace heating the entire greenhouse during cool months.
Step 5: Design the Path You'll Actually Use
Climate control only works if you tend to it. Locate thermostats, humidifiers, and intake/exhaust louvers at eye level and in places you pass daily. Make it intuitive: a large, glance-able digital display beats a tucked-away sensor you forget to check.
Plan maintenance access: ensure fans, filters, and heater vents aren't clogged by debris or blocked by stored bags of soil. Test your control sequences before the first hard frost or heat wave, so you know your system responds as expected.
Document your setpoints and seasonal adjustments in a simple checklist. Many growers print a laminated card: "Spring Equinox: adjust shade to 30%, lower night setpoint to 55°F, open vents at 70°F." Small wins from a repeatable routine compound into consistent yields.
Step 6: Plan for Redundancy and Backup
Stage heaters or add a small backup heat source (a thermostat-controlled ceramic heater in the corner costs $50-200 and saves crops during a main-heater malfunction). Provide backup power (a UPS or generator) for critical fans and controls during outages. These small investments cut crop loss risk.
Moving Forward
Integrated greenhouse HVAC and climate control is less about buying the biggest machine and more about matching your load, layering passive and active strategies, and coordinating controls so every component supports the others. The result is HVAC greenhouse energy savings of 30-50%, stable conditions that reduce disease and pest pressure, and a year-round greenhouse that feels good to be in, a space where you'll actually want to work.
Begin with load calculations and passive strategies. Add the smallest active systems you need. Start controls simple, and automate only what saves energy or prevents crop loss. Test your setup in shoulder seasons when failures are forgiving, so you're ready for winter or summer extremes.
Consider reaching out to a local greenhouse designer or HVAC contractor for a site assessment, or join online forums (OpenDoor Greenhouse, BackYard Harvest, regional gardening groups) where growers in your climate share real data and experiences. Watch a few YouTube builds of greenhouses in your zone; real-world videos beat vendor photos for spotting what works and what doesn't in your region's weather patterns. Explore case studies from schools or market gardens near you (they're often transparent about costs, surprises, and what they'd change). Those stories anchor your own planning and build your confidence to create a greenhouse that sustains both your crops and your joy of tending.
Related Articles